Showing posts with label Craft Tutorials. Show all posts

Tuesday, December 8, 2020

La-La Land Crafts 14 Days Of Christmas Day 5

Good morning friends! La-La Land Crafts is having 14 days of Christmas tutorials. That's a ton of inspiration!!  


For my tutorial, I made a fun fold card with the new Winter Bears Clear Stamp Set. The bears in this set are adorable! 


You can watch my tutorial here. 


I hope you will subscribe to my channel! 

PRODUCTS USED

Winter Bears Clear Stamp Set 
Wood Planks Background Stamps
Snowy Hills Layering Stencil
Long Flags Die
Build a House Die
Gingerbread House Add On Die
Three Christmas Trees Die
Birch Trees Die
Double Stitched Hill Border Die
Watercan Die
Stitched Nested Circles Die

Copic Colors

Trees: W5, W3, W1
House: E49, E47, E44, W5, W3, W1, W00, BG09, BG45, BG13, BG11, Y32, E19, E97, E31
Bear: W5, W4, W2, W00, R20, R30
Red: R89, R59, R56, R46, R29, R24
Shovel: 110, C9, C5, Y19, Y15, Y13, Y11

Snow: Picket Fence Distress Ink
House: Rich Cocoa Memento Ink

Card Base: 4 1/4 inches x 5 1/2 inches
Solid Card Stock: Cut at 4 1/2 inches by 10 1/2 inches
Score at 5 1/4 inches and 7 7/8 inches

Cut one Birch Trees Die
Cut two Double Stitched Hill Borders
Cut one Stitched Nested Circle
Cut one House
Cut three Windows
Cut one Watercan (Just using the heart)
Cut one Chimney
Cut one Long Flag
Cut two Three Christmas Trees

If you pop over to the La-La Land Crafts blog, you will find other tutorials that were created for the 14 days of Christmas. 

For your convenience, I have placed links to the products used in this post. These links are affiliate links which means I receive credit for the products purchased (at no cost to you) when they are used. 

See you again soon! 

   Hugs, 

          Tina


Thursday, July 16, 2020

La-La Land Crafts July 2020 Club Kit Reveal

For your convenience, I have placed links to the products used in this post. These links are affiliate links which means I receive credit for the products purchased (at no cost to you) when they are used. 

Hi friends! It's been a while...I took a little break and got some much-needed rest. I am SUPER excited to be back just in time for the La-La Land Crafts July 2020 Club Kit Reveal. 

This month we have a Safari theme!! AND MONKEYS!!  


I am in love with the border dies in this kit! The backgrounds you can create with them are amazing!  And this Jeep! How cute is that?! 

As a La-La Land Crafts Club Kit member, you receive at tutorial each month from every Club Design Team Member. That means 8 tutorials for 8 different projects! Some are written tutorials and some are video tutorials. It all depends on what the Design Team member decides to do. 

This month, my tutorial is a written tutorial. It is done this Safari Marci card and tag. 


Products used:
Safari Marci Rubber Stamp
Ape About You Rubber Stamp
Club Kit Safari Skyline Border
Club Kit Safari Truck
Large Stitched Tags Die
Long Flags Die
Grass Patches Die
Stitched Nested Circles Die
lalalandcrafts.com/Stitched-Nested-Circles-Die_p_793.html?AffId=4
Water Ripples Layering Stencil

Copic Markers used
Skin: E04, E11, E21, E00, E000, E0000
Hair: E49, E25, E11
T-Shirt: 100, W3, W1
Hat/Vest/Shorts: RV19, RV17, RV14, RV69, RV66
Water Bottle: C3, YG09, YG07
Monkey:  E40, E42, E43, 110, C8, C7, C6, C5
Safari Truck: Y11, Y00, G29, G08, YG09, YG07, 100, W8, W7, W6, C5, C3, C1, C00
Grass/Trees/Mountain YG99, YG97, YG95, YG93, E33, E31, E79

I had to make a card full of monkeys. I stamped 5 of them and colored them with Copic Markers. I think I like the brown monkeys better than I do the black ones. 


I wasn't sure what I was going to do with this card. Actually, even though I really love this kit I was thinking it was going to be hard for me to put cute cards together. I was pleasantly surprised! These cards were super easy. They came together in no time at all. 

Looking back at some of my work, you can really tell when I am not feeling inspired or having a hard time coming up with an idea. Are any of you like that? Can you see it in your work? 

Products used...
Ape About You Rubber Stamp
Club Kit Safari Truck
Scalloped Rectangles Die
Long Flags Die
Monkey: E40, E42, E43, E44, E47, E49
Scenery: E42, E43, E44, E47, E49, YG99, YG97, YG95, YG93
Sun: YR14, YR12, Y17, Y15, Y13, Y11
Tires: 100, W8, W7, W6

Club Kit information:

The La-La Land Crafts Club Kit is a monthly subscription. Once you sign up, you can cancel at any time. The Club Kits will be revealed on the 15th (unless otherwise stated) Kits are then mailed out between the 18th and 28th of each month. 

Full value: $69.99
Stamp kit only value: $24.00
Die kit only value: $45.99

We have three subscriptions for you to choose from.

BEST VALUE PRODUCT KIT (Stamps and Dies) $39.99
- 1 (one) exclusive Marci cling mount rubber stamp
- 1 (one) exclusive coordinating cling mount rubber stamp
- a set of exclusive coordinating steel dies

STAMP KIT $19.99
- 1 (one) exclusive Marci cling mount rubber stamp
- 1 (one) exclusive coordinating cling mount rubber stamp

DIES Only KIT $29.99
- a set of exclusive coordinating steel dies in the theme of the month


You should hop on over to the La-La Land Crafts Blog to see what the rest of the design team made to inspire you. 

Wednesday, May 16, 2018

La-La Land Crafts May 2018 Club Kit Release

Good morning all! Today is the release of the May 2018 La-La Land Crafts Monthly Club Kit!
Let me tell you, I am in love with this Kit! You will be too!


It's gnomes!!! The kit has gnomes! They are so stinking cute! And the dies...some of my favorites! Here's a picture of everything that comes with this months La-La Land Crafts Monthly Club Kit.


I had so much fun creating cards with this kit. I cut most of the dies out using white cardstock and then colored them with Copic markers. Coloring the dies totally brings them to life!


I used the new La-La Land Crafts Wood Plank Background Stamp for the background paper. I am so happy that La-La Land Crafts has started making these background stamps! You can use them on anything!

Here are the coloring details for the first card I made with the La-La Land Crafts Monthly Club Kit...

Copic Markers:

Skin: E04, E11, E00, E000, E0000
Hair: E25, YR27, E11
Grass: YG03, BG93, G94, G99
Dress: E53, E51 E50, R81, G94
Hat and Shoes: R81, RV00, RV0000
Mushroom House: E31, E50, R81, RV00, RV0000
Flowers and Mushrooms: R81, RV00, RV0000

On to the second card made with this Months Club Kit. It's a Joy Fold card. If you sign up to get the La-La Land Crafts Monthly Club Kits, you will get tutorials made just for subscribers by the design team. Including the cutie below. To get May's Club Kit, you have to sign up TODAY! 


Coloring details...

Copic Markers

Skin: E04, E11, E00, E000, E0000
Hair: E29, E25, E11
Dress: B99, B97, B95, B93, Y19
Yellows: Y19, Y15, Y11
Greens: YG03, BG93, G94, G99
Flowers: E25, E33, Y19, Y15, Y11. 
Mushroom House: E25, E33, Y19, Y15, Y11.

The Club Kits from La- La Land Crafts have a minimum value of $70.00.

 There are 3 options when signing up for the Club Kits. You can subscribe to get the entire Club Kit at $39.99 plus shipping or just the Club Kit Stamps at $19.99 plus shipping or just the Club Kit Dies at $29.99 plus shipping. 


So, what are you waiting for?!? Sign up today! You don't want to miss out on any more cuteness! If you use this link, I will get credit for you signing up...http://www.lalalandcrafts.com/Club-La-La-Land-Crafts_c_35.html?AffId=4

Thursday, January 18, 2018

Lollipop Card With La La Land Craft Fabulous Marci

Hi everyone! I am so excited to be writing my first tutorial for La La Land Crafts. This is also the first time I have made a lollipop card. 


Lets walk through the steps together. 

I always color my image first. 


I colored the Fabulous Marci Rubber Stamp with Copic markers. Starting out with the skin.

This is my go to skin combo. You can create many different looks with this combo. R20 is used for blush. 

After the skin is done, I move on to the hair. I love this color combination because it is simple with just three markers to use. 


From there, we move onto coloring the clothes and headband. I started by coloring the flowers around Fabulous Marci's waste, adding flowers to the headband and then coloring around the flowers with the black combo below. (also used this combo for her lips)

I used the same black color combination to color the dress. Once completely finished with the coloring, I added sparkles by using 110, C7 and a white gel pen. 

Use a sharp pair of scissors to fussy cut the image and set aside. 

Choose a cardstock that coordinates with your image, you will need two 2 x 12 inch strips. Double sided cardstock would be best. 

Score each 2 x 12 inch strip at every half inch and then fold accordion style.  


Hot glue the strips together at the ends.


Shape the cardstock strips into a circle and glue the ends together. 


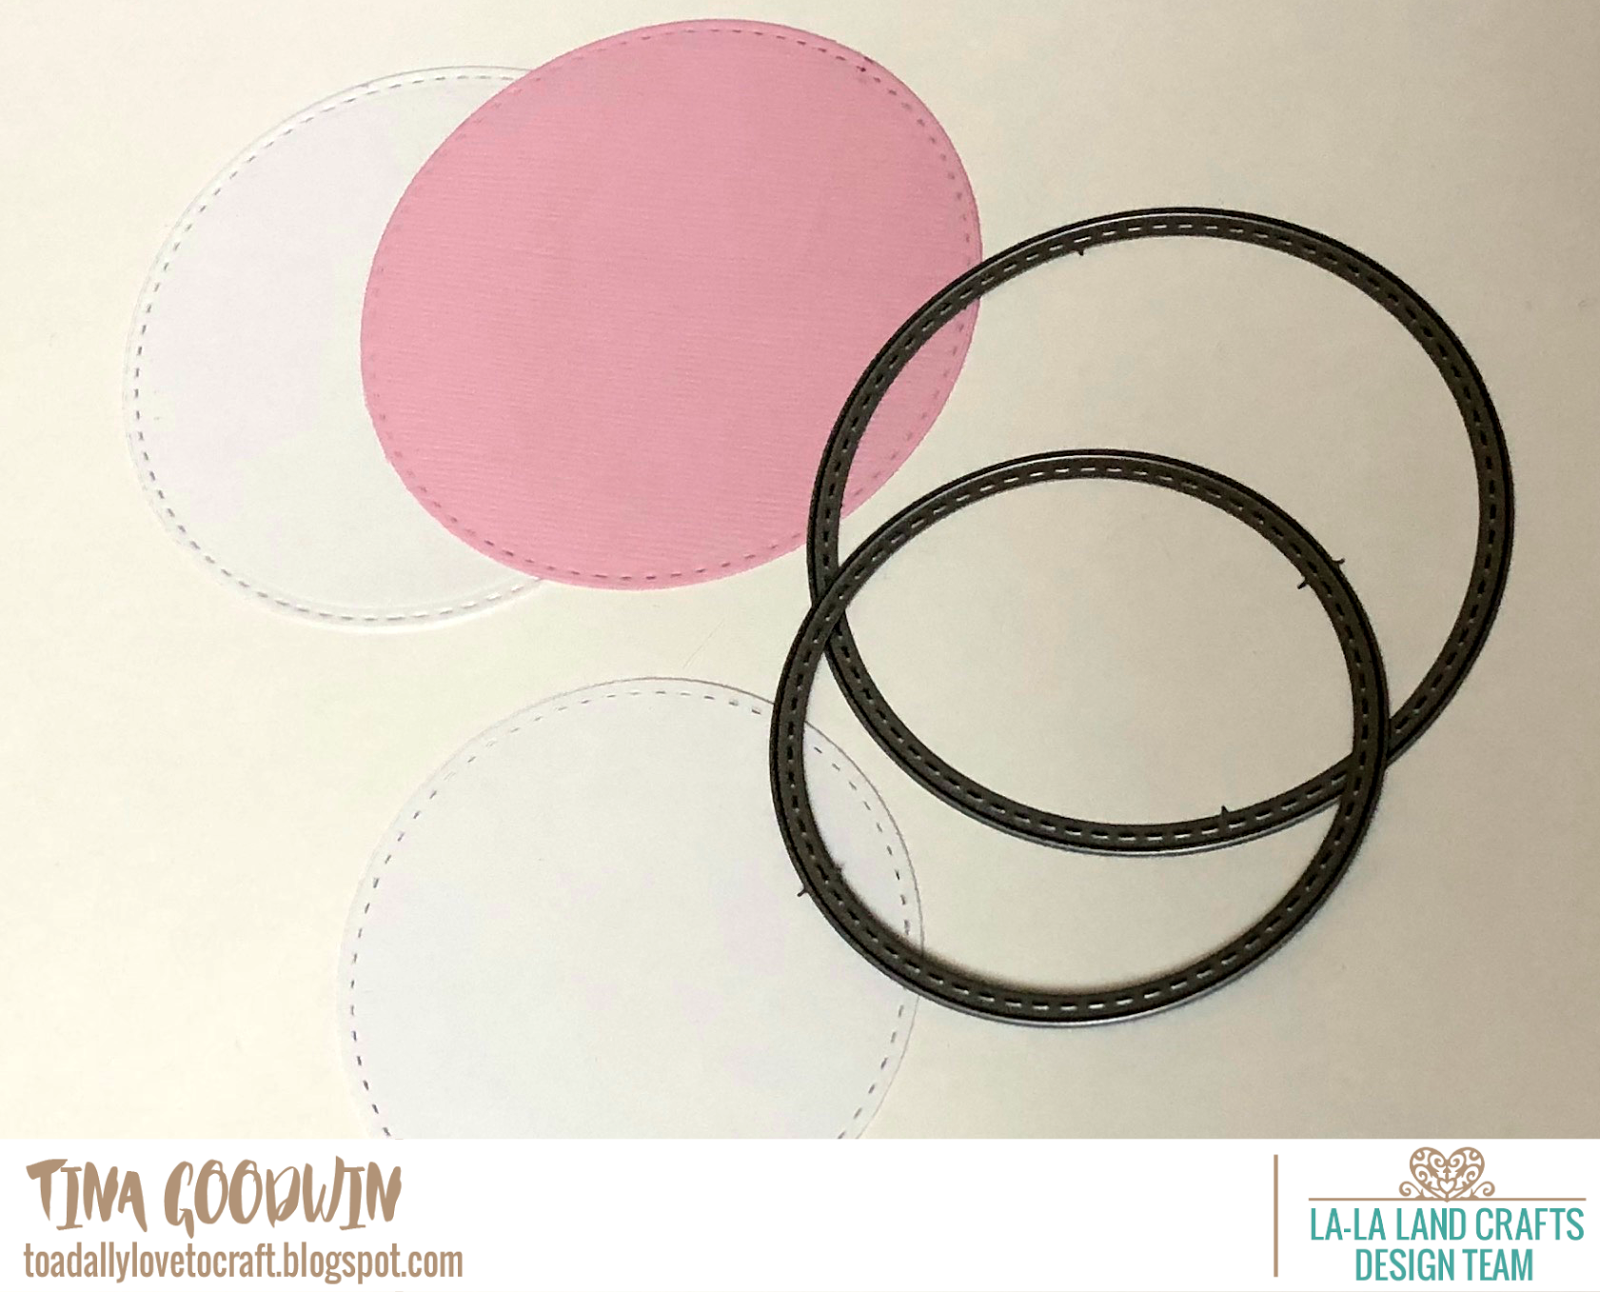
Cut out 5 circles. You will need two pink, two large white and 1 smaller white. 


You can make your rosette different sizes depending how much you leave the center open. I wanted to leave it bigger to accommodate Fabulous Marci. 

Hot glue one of the large white circles to the back of your rosette. 
Then take a paper straw and hot glue it between one of the pleats in the rosette. You will want to slide it up so the straw is sticking out above the rosette on the other side.  Hot glue the straw down on the circle. This will add a little more stability. 


I wanted to place a black doily over the white circle, but I didn't have one. So, as my husband would say I had to "Improvise, adapt and overcome." (He's a Marine)


I turned white doily black using Black Soot Tim Holtz Distress Ink. I only inked around the outside since the center of the doily will be covered by the circles cut out with the Stitched Nested Circles dies. 


Attach the doily over the white circle on the back of the rosette. Then place the large colored circle on top of it followed by the white smaller circle. The white circle will be where you write your message to the recipient of the lollipop card. 

Now to work on the front of  the lollipop card. 
Take the second large pink circle you cut and glue it to the white circle. The white circle is just to make the card more sturdy. (You may not have to have the large white circle if you make the center of the rosette smaller.) 
                                                                           
Hot glue lace to the bottom of the white circle. Hot glue the laced circle to the rosette. 


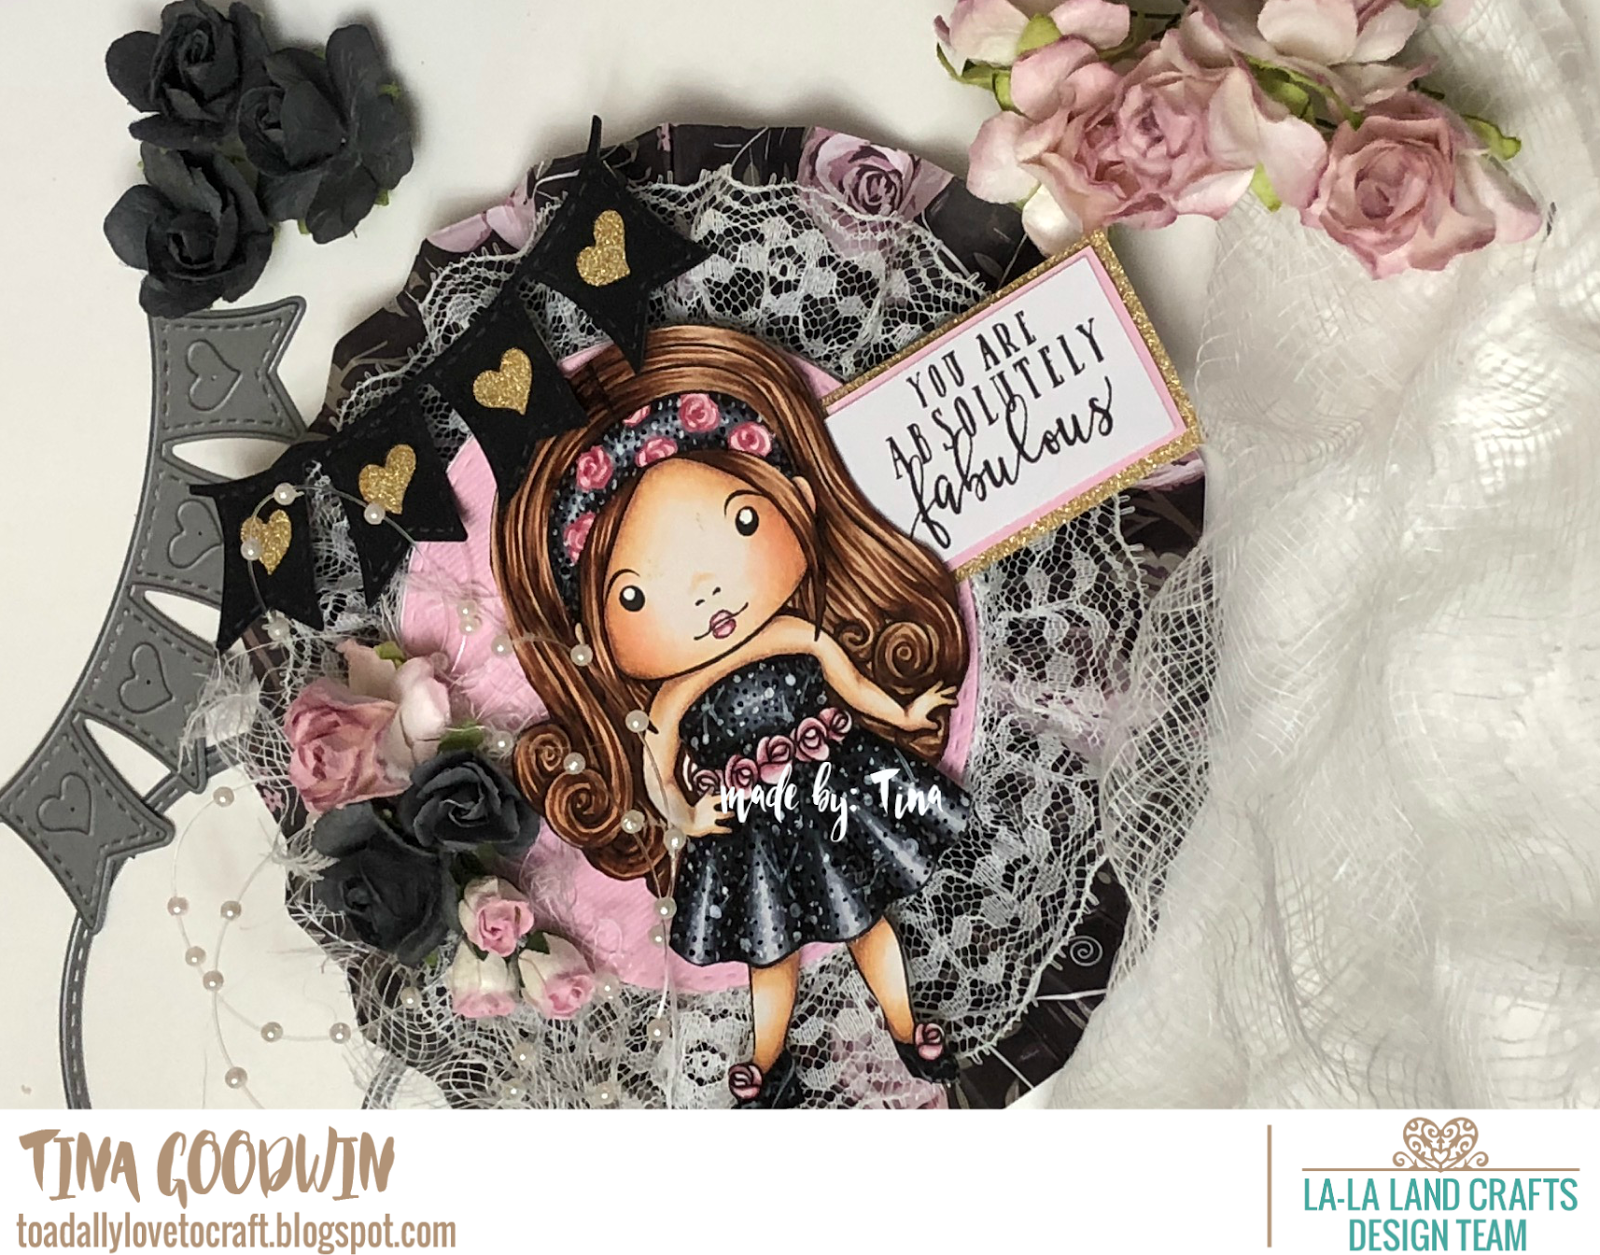
Embellish the front of your lollipop card. I decided to go with flowers, cheese cloth and stringy beads Heart Banner Die as embellishments. 


Now, add Fabulous Marci, the sentiment and any last minute embellishments. 


Viola!! You have a beautiful lollipop card ready to brighten someones day. 


Thank you for stopping by to check out my tutorial. Hopefully you are inspired to try one of these lollipop cards. It is a lot easier than I thought it would be.