
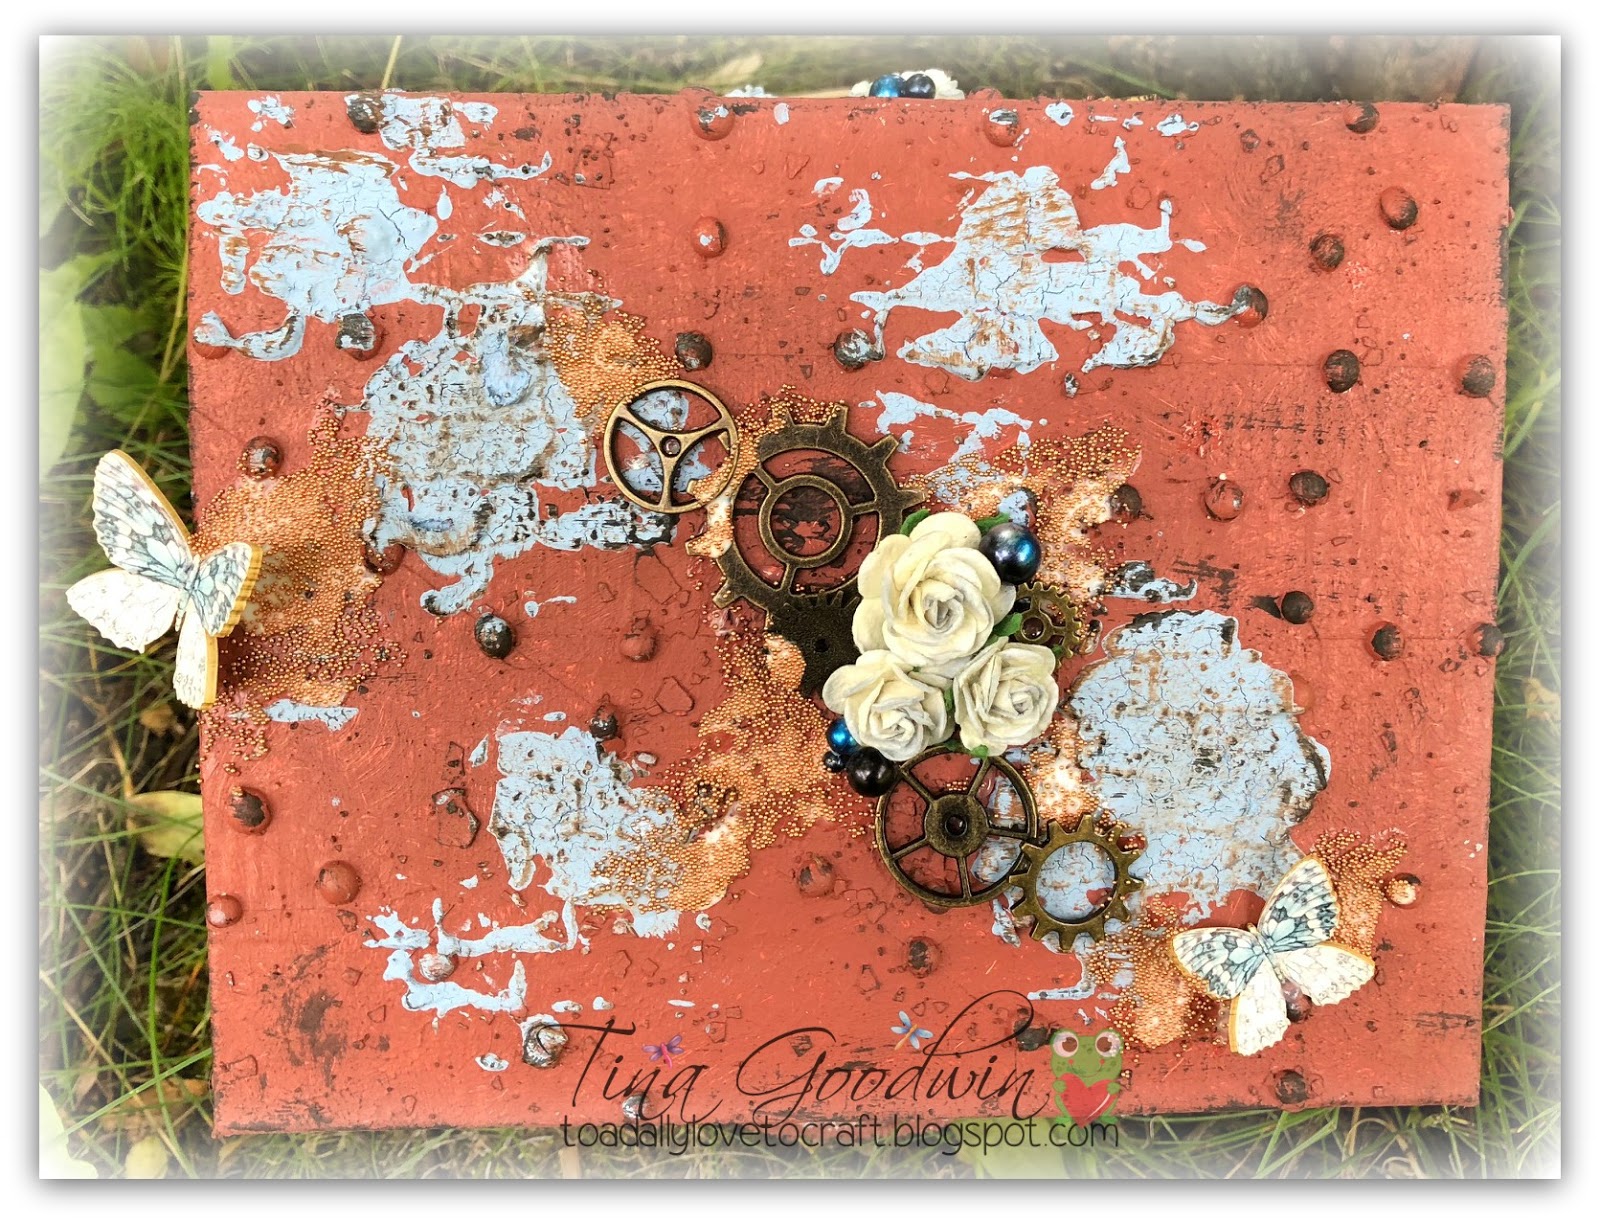
Hi everyone! Today I have a mixed media project to share with you. Oh this project. It has been a thorn in my side! Before I go on, I'll show you a picture of how it turned out.


I had a love hate relationship with this little house. Andrew built it in June. One day of girls camp for the 8-11 year old's was held at our house. Andrew made bird house kits for all the girls. He put one together so they would know what their house should look like when they were done putting it together. This thing has sat on my table since then.
I had originally wanted it to be Shabby Chic. I put a layer of Gesso on it and looked at it for days. I had no ideas. I tried painting bricks on it. NOPE. Didn't like it...covered it with Gesso. I decided to leave the house white and I painted the roof brown. HATED IT! On went another layer of Gesso...thank goodness for Gesso!
I got ahead of myself and adhered the gears on the house before I painted and textured them and the house. It looked boring. So, I pried them off.
Keep in mind, this all happened over the span of two months. I would look at the house every day trying to figure out what I wanted to do with it.
Thankfully, I was finally inspired! It was Renea, she had posted a gorgeous layout in the DT group. As soon as I saw her layout, THE LIGHT TURNED ON!! The colors were perfect!

Once I had been inspired, there was nothing getting in the way of me working on this little house. (Except for drying time.)
It felt so good to FINALLY have the mojo to get going.
I painted the house brown using acrylic paint and a mostly dry paint brush to get that worn/streaky look.

I added texture to to the gears, by covering them with Tim Holtz Opaque Crackle Texture Paste, sprinkling Rose Gold Glass Microbeads over the top of that while it was wet and letting them dry. When the gears were dry, I painted them with Rusty Paper.
I covered the roof with duct tape and added little dots of hot glue to imitate bolts. After that, I added a layer of Gesso, let it dry, and then painted it with Rusty Paper.
The bricks were made using acrylic paint that I thickened with cornstarch and spread over the Tim Holtz Brick Layering Stencil.

I am super happy with how my fairy house turned out.
Renabouquets has two challenges going on right now, in the new FB group.
Magical Mood Board Challenge
Please feel free to come and play with us! You can enter either challenge using a new project you've created using any Renabouquets product.
Reneabouquets items used...
Please feel free to come and play with us! You can enter either challenge using a new project you've created using any Renabouquets product.
Reneabouquets items used...
Printed Beautiful Board Junie B Butterflies
Printed Beautiful Board Larg Junie B Darling
Tim Holtz Layering Stencil
Tim Holtz Opaque Crackle Texture Paste
Beautiful Board Ivy Vines
Beautiful Board Clockwork Gears
Beautiful Beads Midnight Magic
Rose Gold Glass Microbeads
Vintage Blue Curly Roses
Mini Dusty Blue Ivory Mulberry Roses
Beautiful Board Small Feathers
You can find Reneabouquets here...
Reneabouquets
Reneabouquets Etsy Shop
Reneabouquets Blog
Reneabouquets Facebook Page

This is so adorable and looks fantastic, Tina!
ReplyDeleteThis is stunning and love rust effects
ReplyDelete